.webp)
August 2, 2024
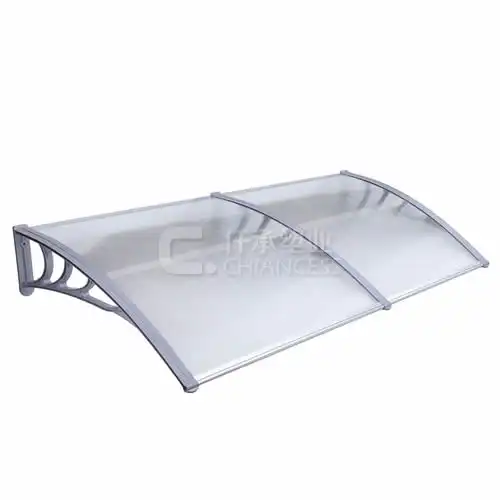
Installing a polycarbonate sheet roofing can be a great way to provide natural light in your space while maintaining durability and weather resistance. Whether you're considering a greenhouse, patio cover, or skylight, polycarbonate sheets offer a lightweight and robust solution. In this guide, we will walk you through the steps to properly install a polycarbonate sheet roof, ensuring a successful project from start to finish.

What are the Steps for Preparing a Polycarbonate Sheet Roof Installation?
Before starting the installation process for your polycarbonate sheet roof, it's essential to prepare thoroughly. Proper preparation ensures that the installation goes smoothly and that the sheets are installed correctly to maximize their durability and lifespan.
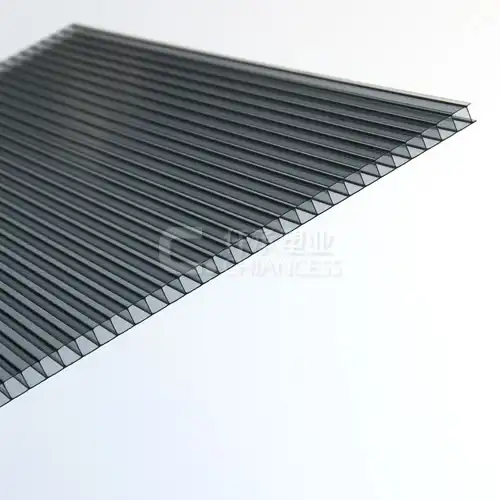
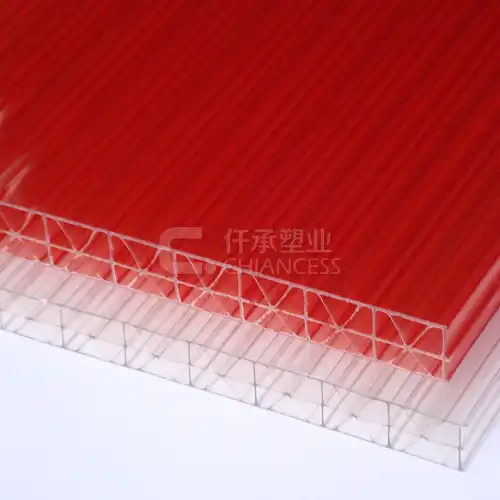
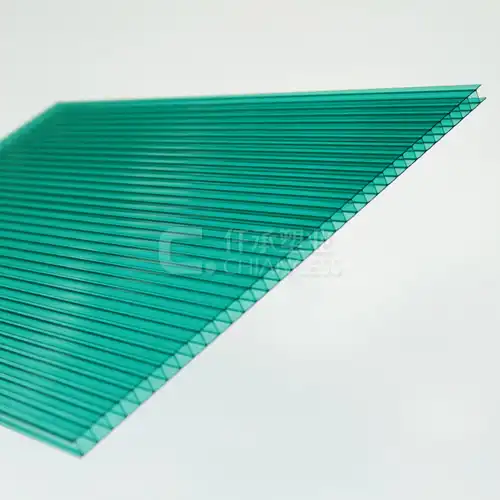
Choosing the Right Polycarbonate Sheets: The first step in preparing for a polycarbonate sheet roofing installation is to choose the right type of polycarbonate sheets for your project. There are different types of polycarbonate sheets available, including solid, twin-wall, and multi-wall sheets. Each type has its own set of advantages and is suitable for different applications. For example, solid polycarbonate sheets are ideal for applications where maximum light transmission is required, while multi-wall sheets are better suited for applications where thermal insulation is a priority.
Measuring and Cutting the Sheets: Once you have chosen the right type of polycarbonate sheets for your project, the next step is to measure and cut the sheets to size. It is essential to measure the dimensions of the area where the sheets will be installed accurately. You can use a tape measure and a marker to mark the measurements on the sheets. After marking the measurements, you can use a circular saw or a jigsaw to cut the sheets to size.
Preparing the Roof Surface: Before installing the polycarbonate sheets, it is essential to prepare the roof surface properly. You should remove any existing roofing materials, such as shingles or tiles, and clean the roof surface thoroughly. You can use a broom or a pressure washer to remove any dirt or debris from the roof surface. Once the roof surface is clean, you can apply a layer of roofing felt or a polycarbonate-compatible sealant to create a smooth and waterproof surface for the sheets.
Installing the Sheets: Finally, you can begin installing the polycarbonate sheets on the prepared roof surface. Start by placing the sheets in the desired position and securing them with screws or nails. It is essential to leave a small gap between each sheet to allow for expansion and contraction due to temperature changes. Once all the sheets are installed, you can use polycarbonate-compatible flashing or sealant to seal the edges and prevent water from leaking into the roof.
What are the Best Practices for Installing a Polycarbonate Sheet Roof?
Installing a polycarbonate sheet roof requires careful attention to detail and adherence to best practices to ensure a successful and long-lasting installation. Here are some best practices to follow when installing a polycarbonate sheet roofing:
Follow Manufacturer Guidelines: Before starting the installation process, it is essential to carefully read and follow the manufacturer's guidelines for installing polycarbonate sheets. The manufacturer's guidelines will provide you with specific instructions on how to handle, cut, and install the sheets properly.
Use the Right Tools and Materials: To ensure a successful installation, it is essential to use the right tools and materials. Some of the tools and materials you will need for the installation process include a tape measure, a circular saw or jigsaw, screws or nails, a drill with a screwdriver bit, a ladder or scaffolding, and safety equipment such as gloves and safety glasses.
Ensure Proper Ventilation: Proper ventilation is essential when installing a polycarbonate sheet roof to prevent condensation and moisture buildup. You can achieve proper ventilation by installing vents or air gaps between the sheets and the roof surface. This will allow air to circulate freely and prevent the buildup of moisture.
Secure the Sheets Properly: When installing the polycarbonate sheets, it is essential to secure them properly to the roof surface. Use screws or nails to secure the sheets at regular intervals, ensuring that they are tight but not over-tightened. This will help prevent the sheets from shifting or warping over time.
Seal the Edges and Joints: To ensure a watertight seal, it is essential to seal the edges and joints of the polycarbonate sheets properly. You can use polycarbonate-compatible flashing or sealant to seal the edges and joints and prevent water from leaking into the roof.
What are the Common Mistakes to Avoid When Installing a Polycarbonate Sheet Roof?
While installing a polycarbonate sheet roofing is a relatively straightforward process, there are several common mistakes that you should avoid to ensure a successful installation. By being aware of these mistakes and taking steps to prevent them, you can help ensure that your polycarbonate sheet roof installation goes smoothly and lasts for years to come.
Improper Handling and Storage: One of the most common mistakes when installing polycarbonate sheets is improper handling and storage. Polycarbonate sheets should be handled with care to prevent scratching or cracking. They should also be stored flat in a cool, dry place to prevent warping or bending.
Over-Tightening Screws or Nails: Another common mistake is over-tightening screws or nails during the installation process. Over-tightening can cause the sheets to warp or crack over time. It is essential to tighten screws or nails snugly but not excessively.
Not Allowing for Expansion and Contraction: Polycarbonate sheets expand and contract with changes in temperature. Not allowing for expansion and contraction can cause the sheets to buckle or warp. It is essential to leave a small gap between each sheet and the roof surface to allow for thermal movement.
Using Incompatible Sealants or Flashing: Using incompatible sealants or flashing can also lead to problems during the installation process. It is essential to use polycarbonate-compatible sealants and flashing to ensure a watertight seal and prevent water from leaking into the roof.
Poor Roof Surface Preparation: Lastly, poor roof surface preparation can lead to problems during the installation process. It is essential to clean and prepare the roof surface properly before installing the polycarbonate sheets to ensure a smooth and waterproof surface.
Conclusion
In conclusion, installing a polycarbonate sheet roof requires careful planning, preparation, and attention to detail. By following the steps outlined in this guide and avoiding common mistakes, you can ensure a successful installation that provides natural light, durability, and weather resistance for years to come.
For more information about polycarbonate sheet roofing or to get started on your project, please contact us at: simon@chiancess.com.
References
ABC Roofing Supplies. (2023). Guide to Installing Polycarbonate Roofing Sheets. Retrieved from https://www.abcroofingsupplies.com/installing-polycarbonate-roofing-sheets
Build It Solar. (2023). Installing Multiwall Polycarbonate Panels. Retrieved from https://www.builditsolar.com/Projects/Conservation/PolycarbonatePanels.htm
Suntuf. (2023). How to Install Polycarbonate Roofing Sheets. Retrieved from https://www.suntuf.com/au/how-to-install-polycarbonate-roofing-sheets
Palram Americas. (2023). Palram Installation Instructions. Retrieved from https://www.palramamericas.com/us/products/polycarbonate-sheets/
The Plastic People. (2023). How to Install Polycarbonate Roofing Sheets. Retrieved from https://www.theplasticpeople.co.uk/blog/how-to-install-polycarbonate-roofing-sheets/